


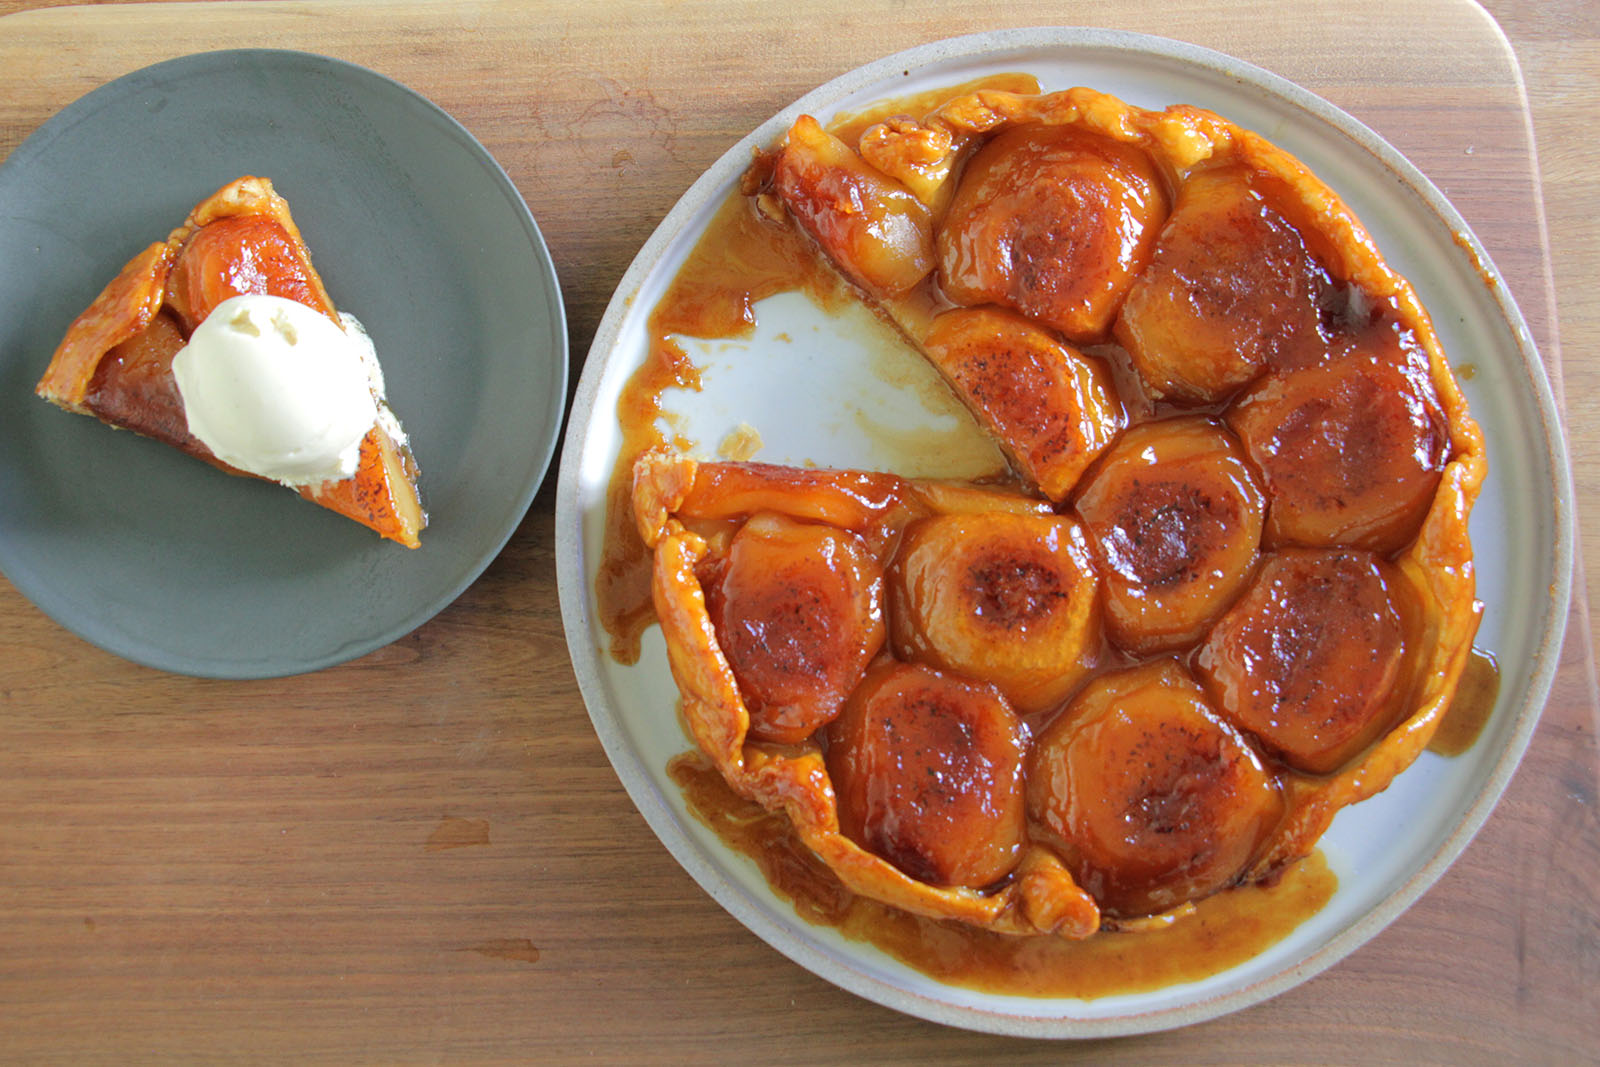
CARAMELIZED APPLE TARTE TATIN
My sister makes this tarte tatin every year for the holidays, and every year it’s a hit. How could it not be? Juicy apples, cooked slowly and bathed in golden brown caramel, all sitting atop a flaky butter crust. I mean…
The secret is while it may sound and look fancy, it’s actually fairly simple to make as long as you stick to the instructions. When it comes to the flipping, just believe in yourself and act quickly. You got this. Oven mitts wouldn’t be a bad idea either. Then celebrate by topping your slice with an indulgent scoop of vanilla ice cream. You earned it.
![]()
SERVES 4-6 people
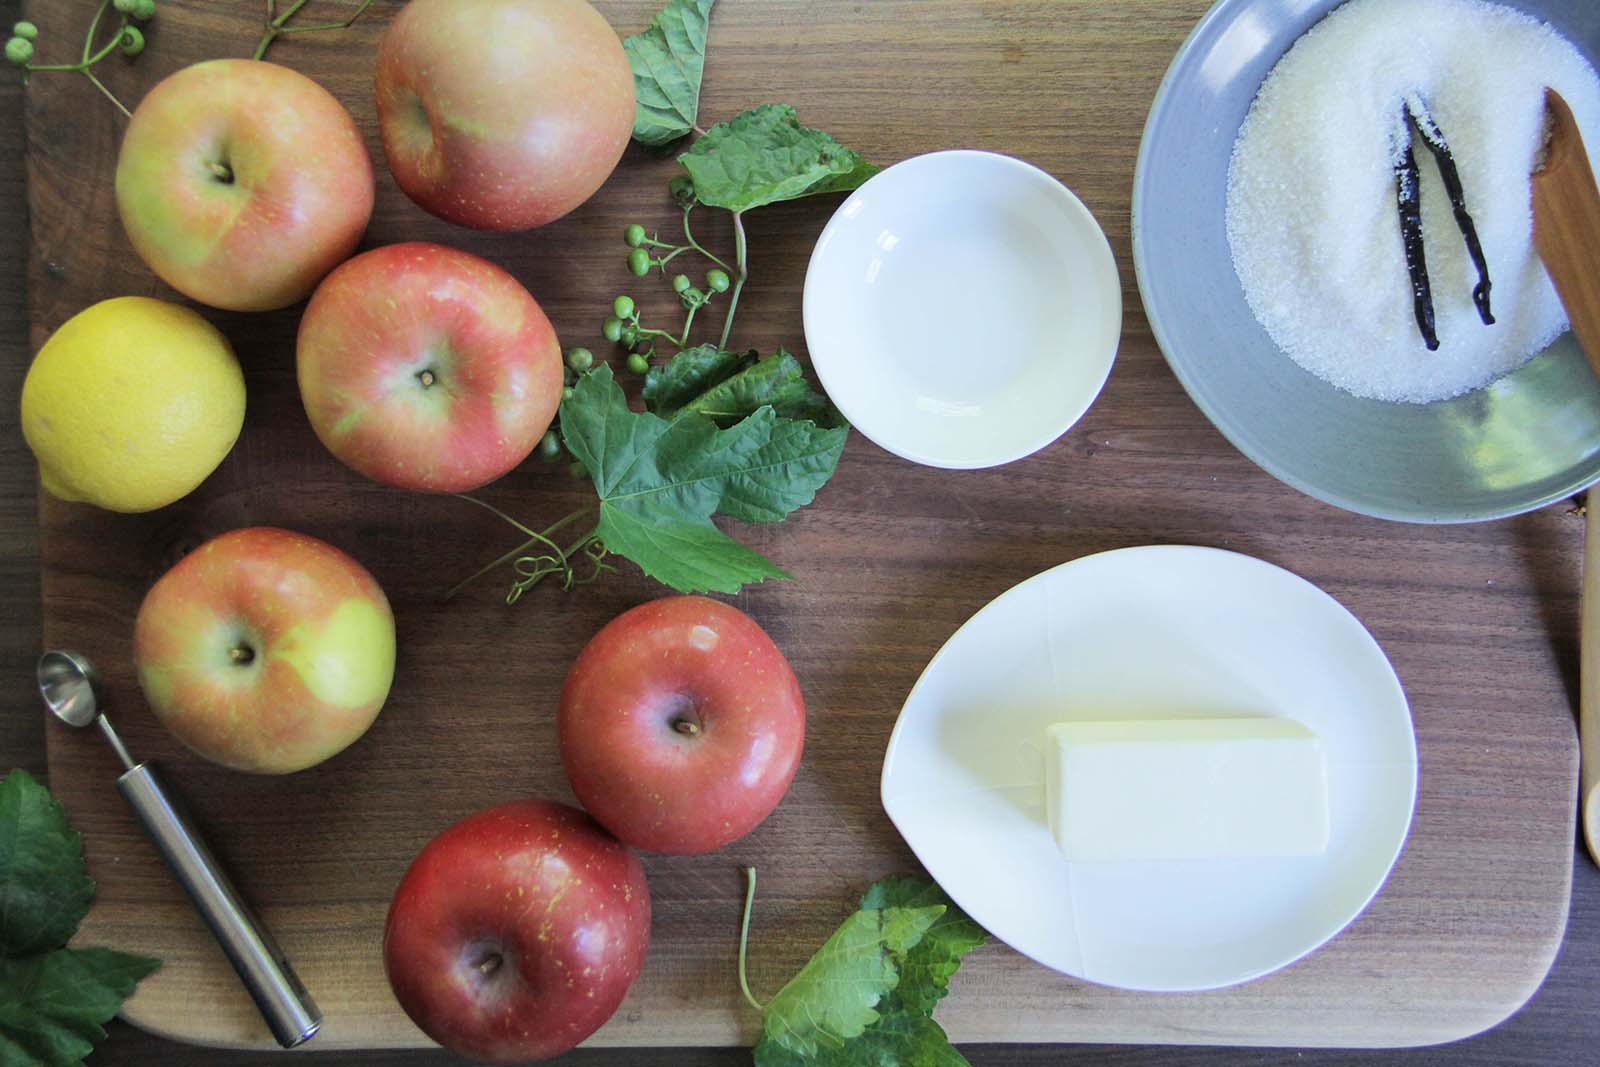
INGREDIENTS
3 lbs crisp apples, such as Fuji or Jonagold, peeled, cut in half lengthwise and cored
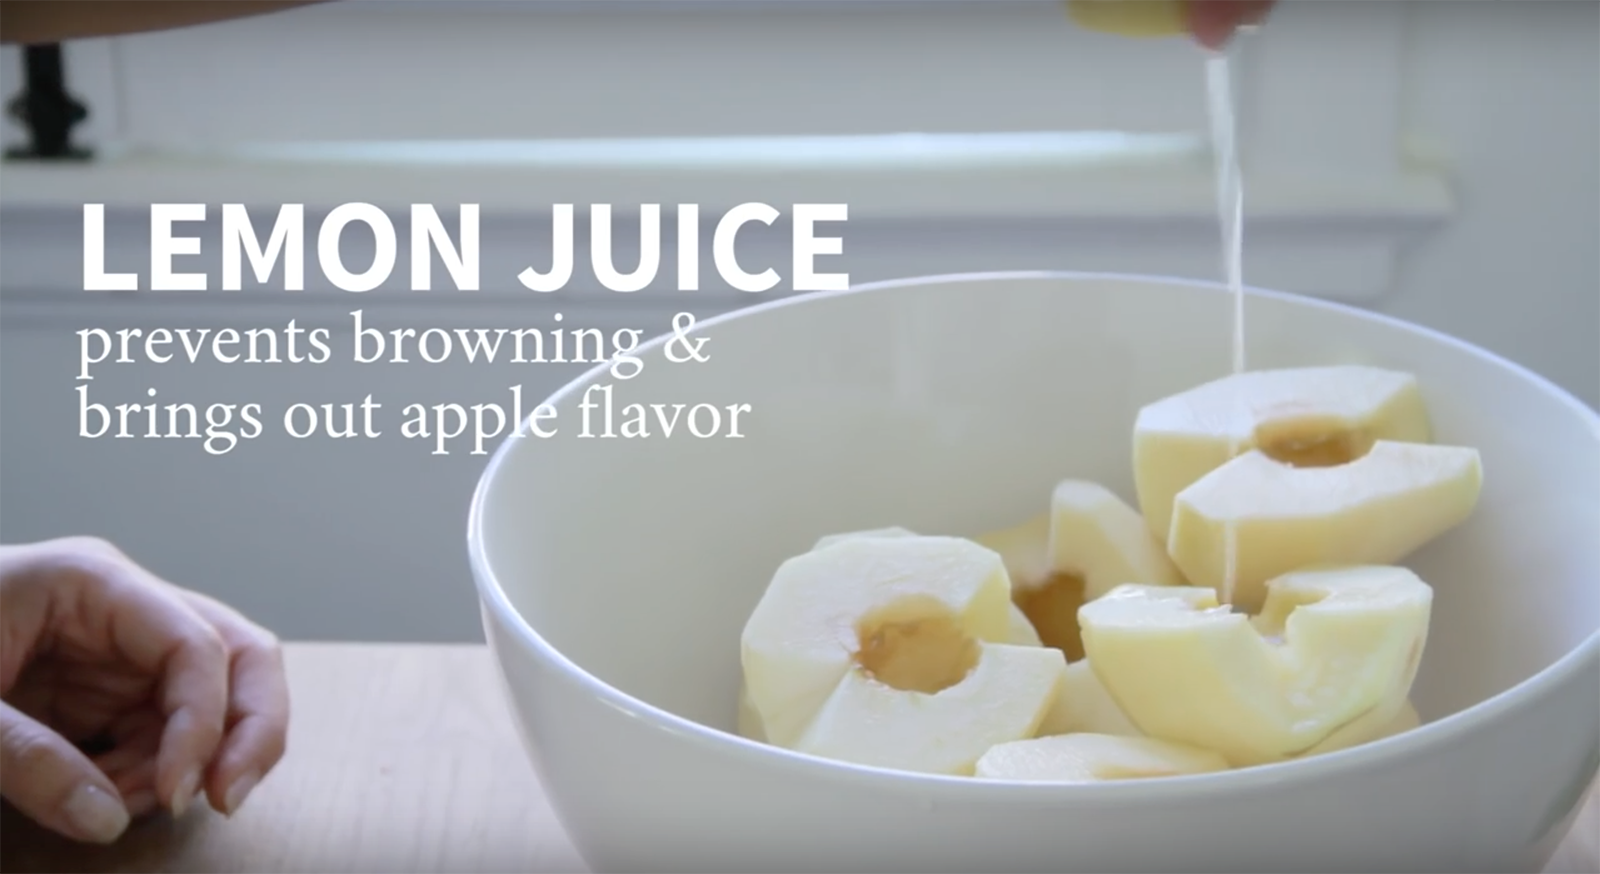
Juice of 1 lemon
3⁄4 C organic cane sugar
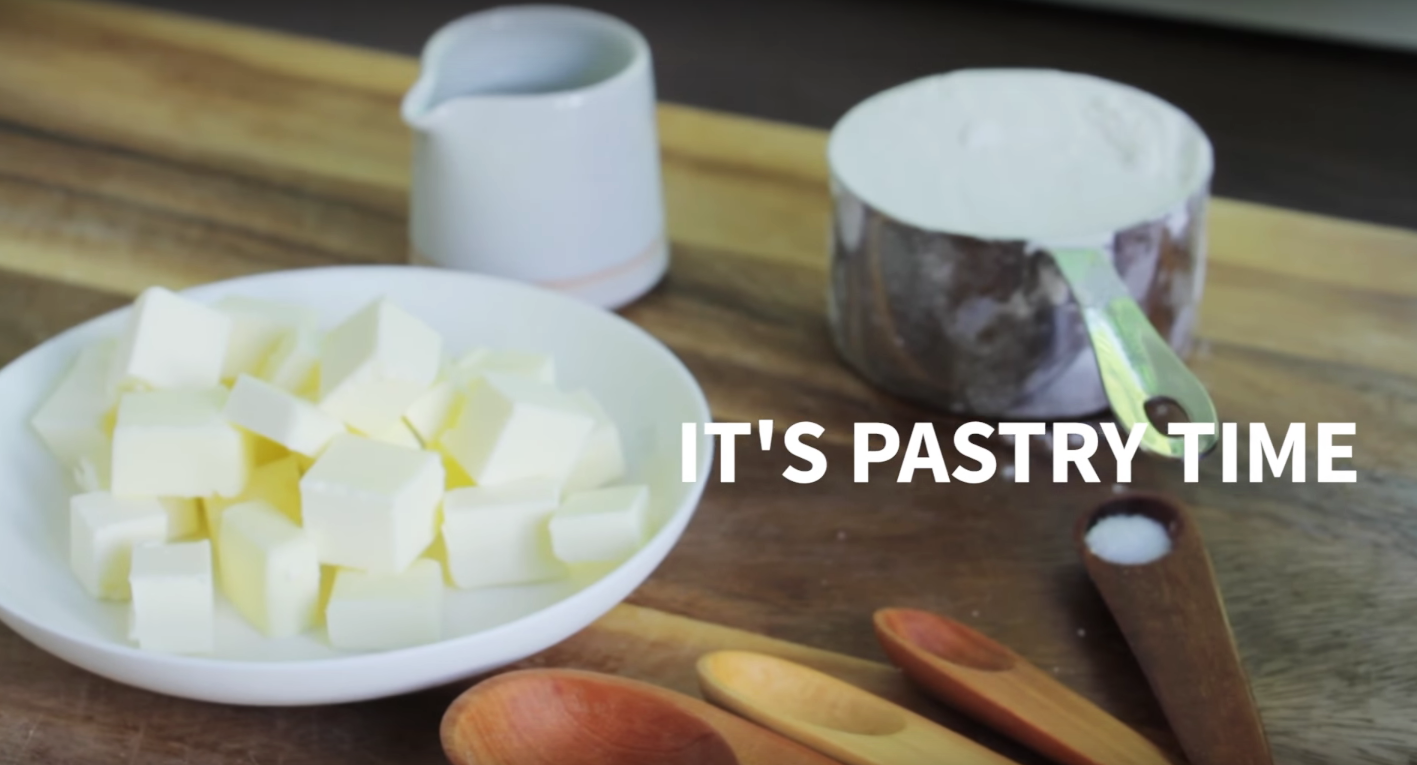
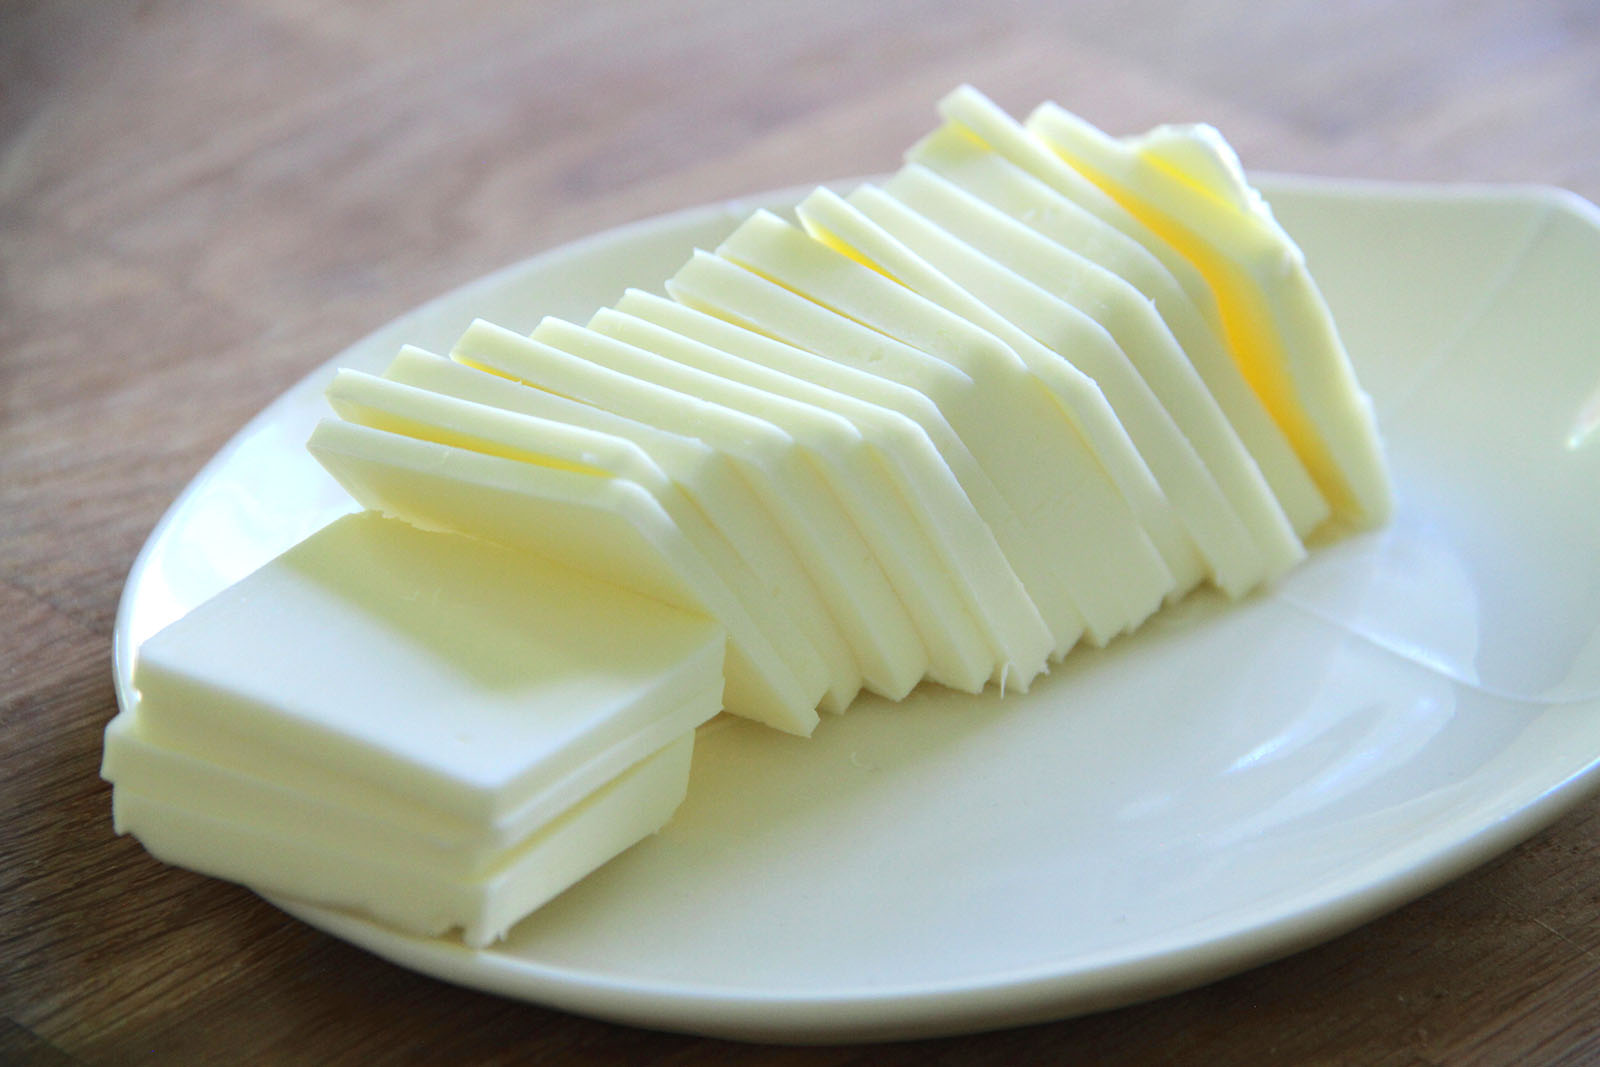
10 TBS. unsalted butter, sliced thin
1 tsp. vanilla extract
Tarte Tatin pastry (recipe below)
Optional: fleur de sel for garnish
Optional: Fresh cream, mascarpone or vanilla ice cream for serving
1
Toss peeled, cored and halved apples with lemon juice in a large bowl. Set aside.
2
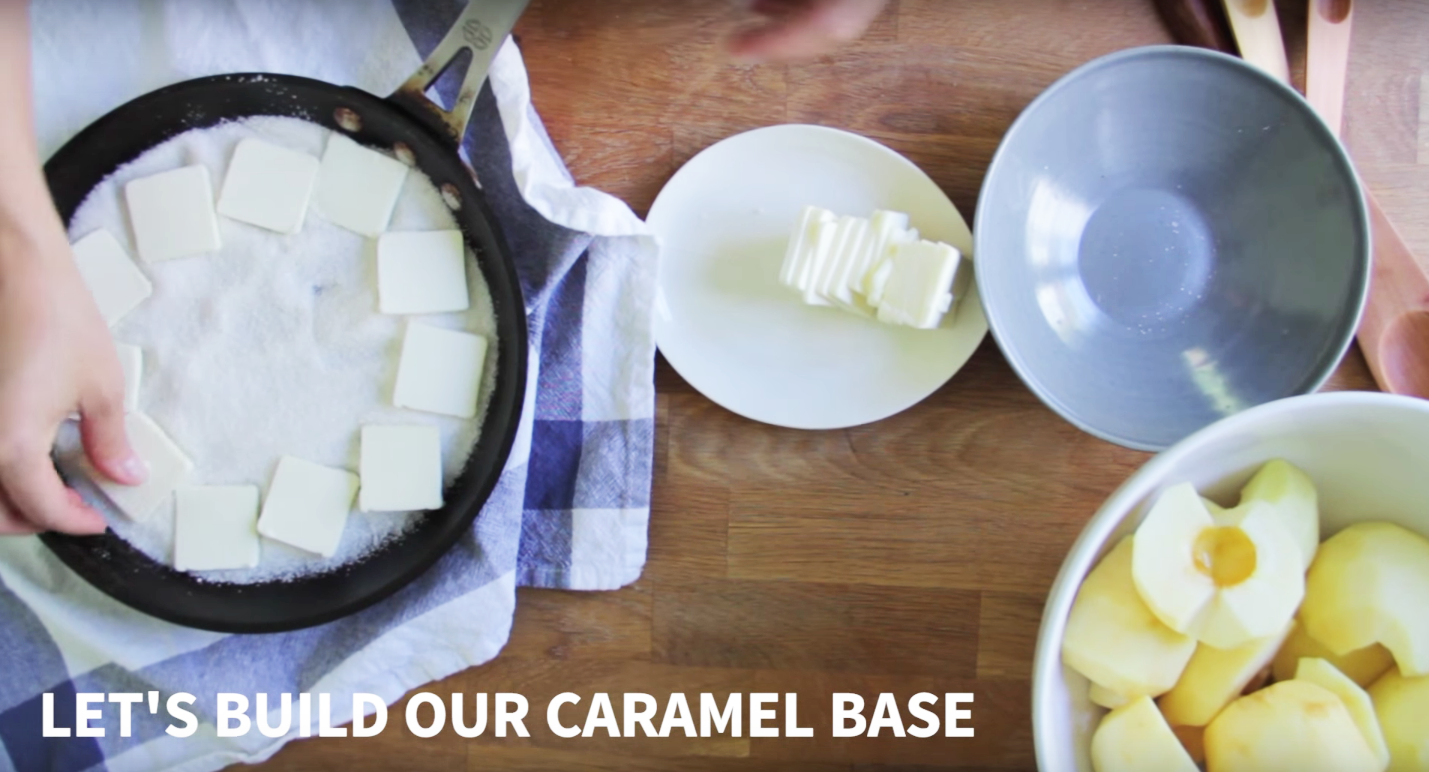
Spread sugar over the bottom of a 9” skillet. Distribute butter slices over the sugar, covering the whole pan. Sprinkle vanilla extract over the butter and sugar.
3
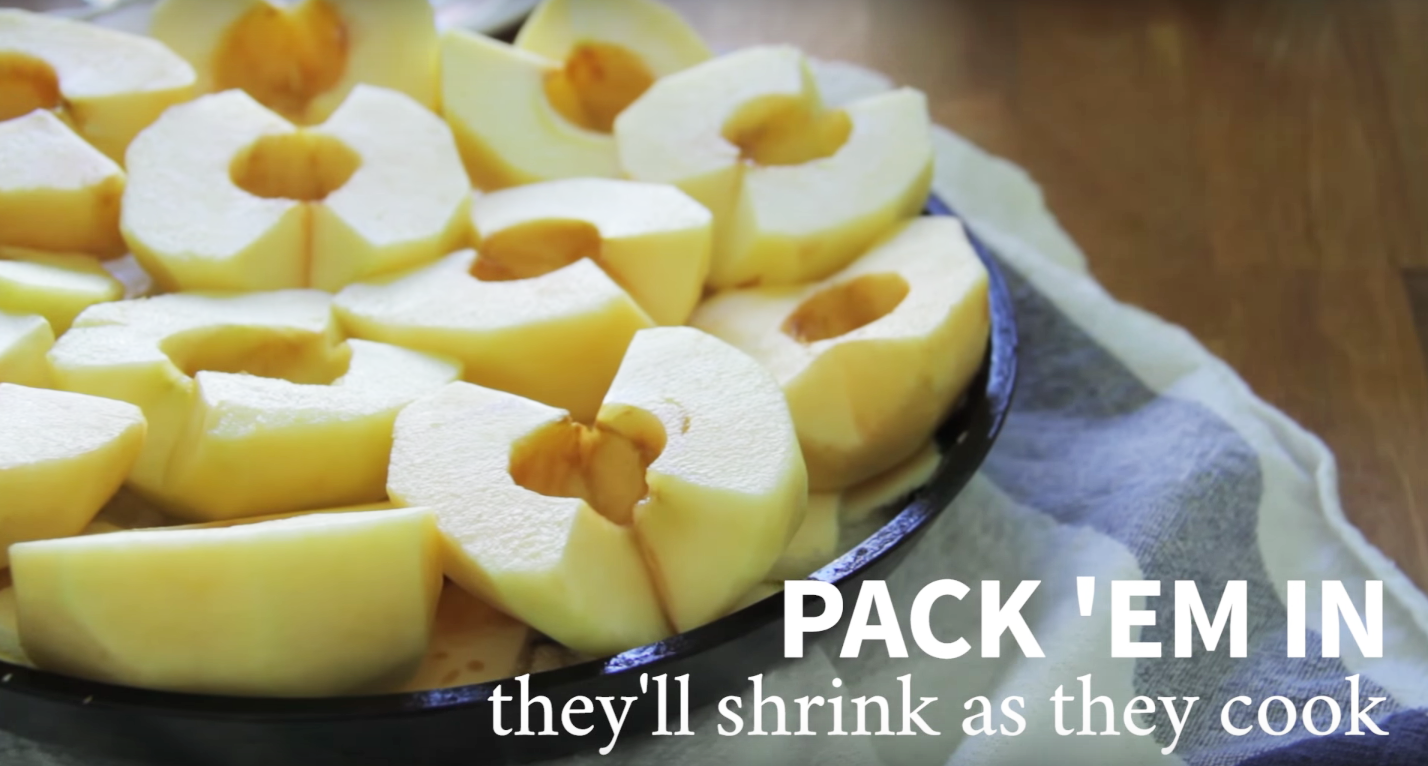
Starting from the outside and working in to the center of the pan, place apples on top of the butter and sugar, round side down. Pack the apples close together! Don’t worry if they extend a bit beyond the edges of the pan. The apples will shrink A LOT as they cook.
4
Place the skillet on the stove over low heat, uncovered. Keep the sugar mixture and juices at a gentle bubble, basting the apples occasionally, until a deep golden caramel forms and apples just begin to soften, 75 - 90 minutes.

5
While the apples cook, make the tarte tatin pastry.
TARTE TATIN PASTRY
INGREDIENTS
1 C all-purpose flour, plus extra for rolling out the dough
¼ tsp salt
8 TBS. unsalted butter, cut into cubes and chilled
3-5 TBS. ice water
1
Place flour and salt in the bowl of a food processor. Process a few seconds to blend.
2
Add butter and process 6-8 times. The texture should resemble coarse meal with butter chunks remaining.
3
With machine running, drizzle in ice cold water until the mixture begins to form a ball and looks like cheese curds.
4
Remove dough from food processor/bowl and place on a smooth, floured, work surface. Form into a ball and flatten into a disk. Cover in plastic wrap and place in refrigerator for at least one hour and up to a day if making ahead.
5
Remove dough from refrigerator and place on floured work surface. Roll out into a 10-inch circle. Place on a parchment-lined baking sheet and refrigerate until ready to place over the apples.

ASSEMBLING AND BAKING THE TARTE TATIN:
1
Preheat oven to 425°F.
2
Once sugars have caramelized to a golden brown and apples are beginning to soften, remove the skillet from the heat.
3
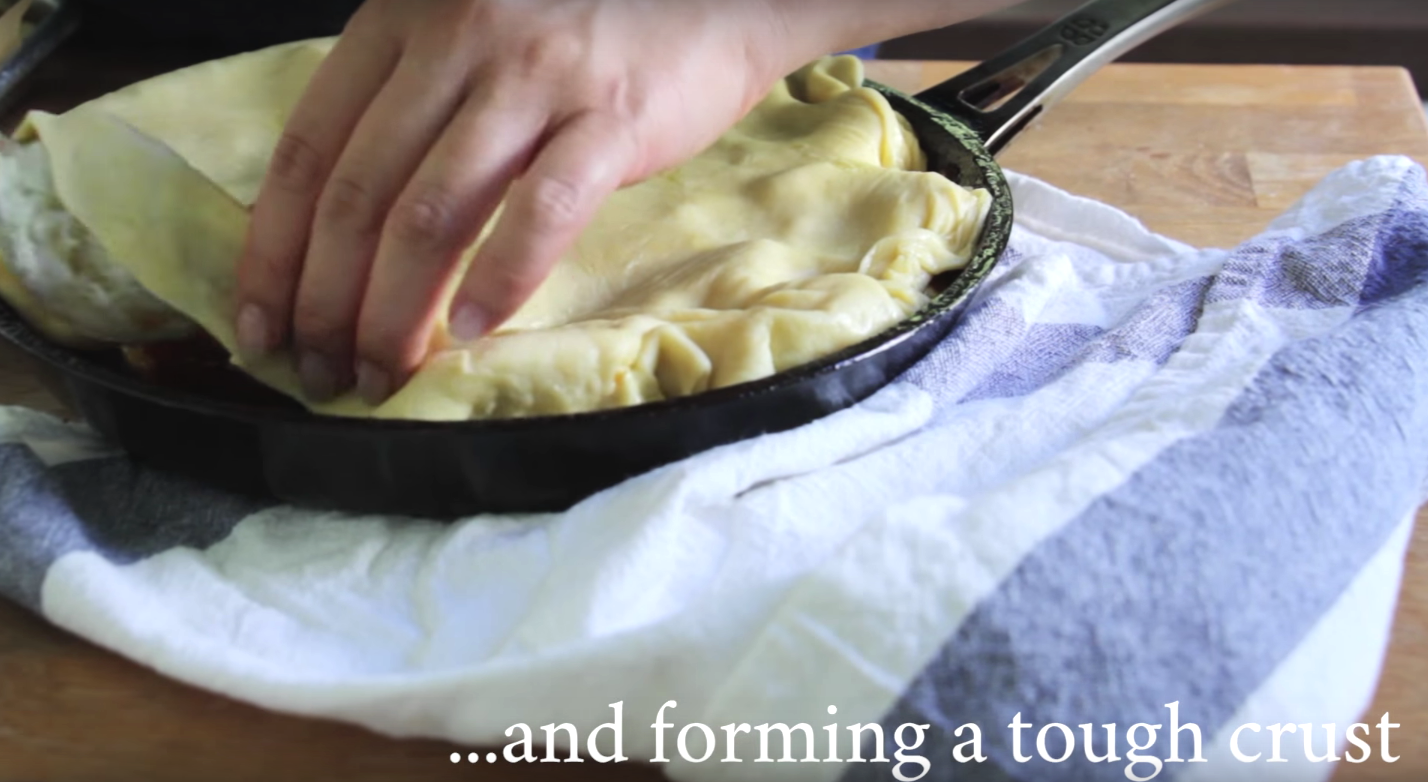
Place the tarte pastry over the top of the apples. Snip off any excess dough with kitchen shears, and use a spoon to gently tuck the pastry around the sides of the apples, being careful not to touch the pan or apples with bare fingers.
4
Transfer the skillet to the oven and bake 25-30 minutes, until puffed up and golden.
5
Remove skillet from oven and immediately place serving plate over the top of the skillet. Make sure the plate extends beyond the edges of the skillet.
6
Quickly invert the tarte on to the serving platter in one fluid motion. If any apples stick to the bottom of the pan, place them back on the tart.
7
Serve warm with a sprinkle of fleur de sel (optional) and ice cream, cream or mascarpone (optional).
TIPS
- Be sure caramel really turns into caramel before you put it in the oven.
- Pack as many apples as you can in there. Really put in more than you think will fit. This will give you that beautiful “mound of apple” look at the end.
- I used a pie pan in the video. I usually do not use a cast iron skillet because I find it harder to control and I also don’t want to burn the caramel. I would recommend a nonstick pan with a lip that you can put in the oven. A lip on the pan makes flipping easier so that there is no gap between the pan and plate and there is less of a chance for hot caramel to ooze out.
 with Yuzu & Egg")


